HOWTO: Configuring Mail aliases
Intro
This HOWTO applies to adding email aliases for email services provided by my preferred hoster, Hostinger.
Setup in the Email provider
In the Hostinger dashboard
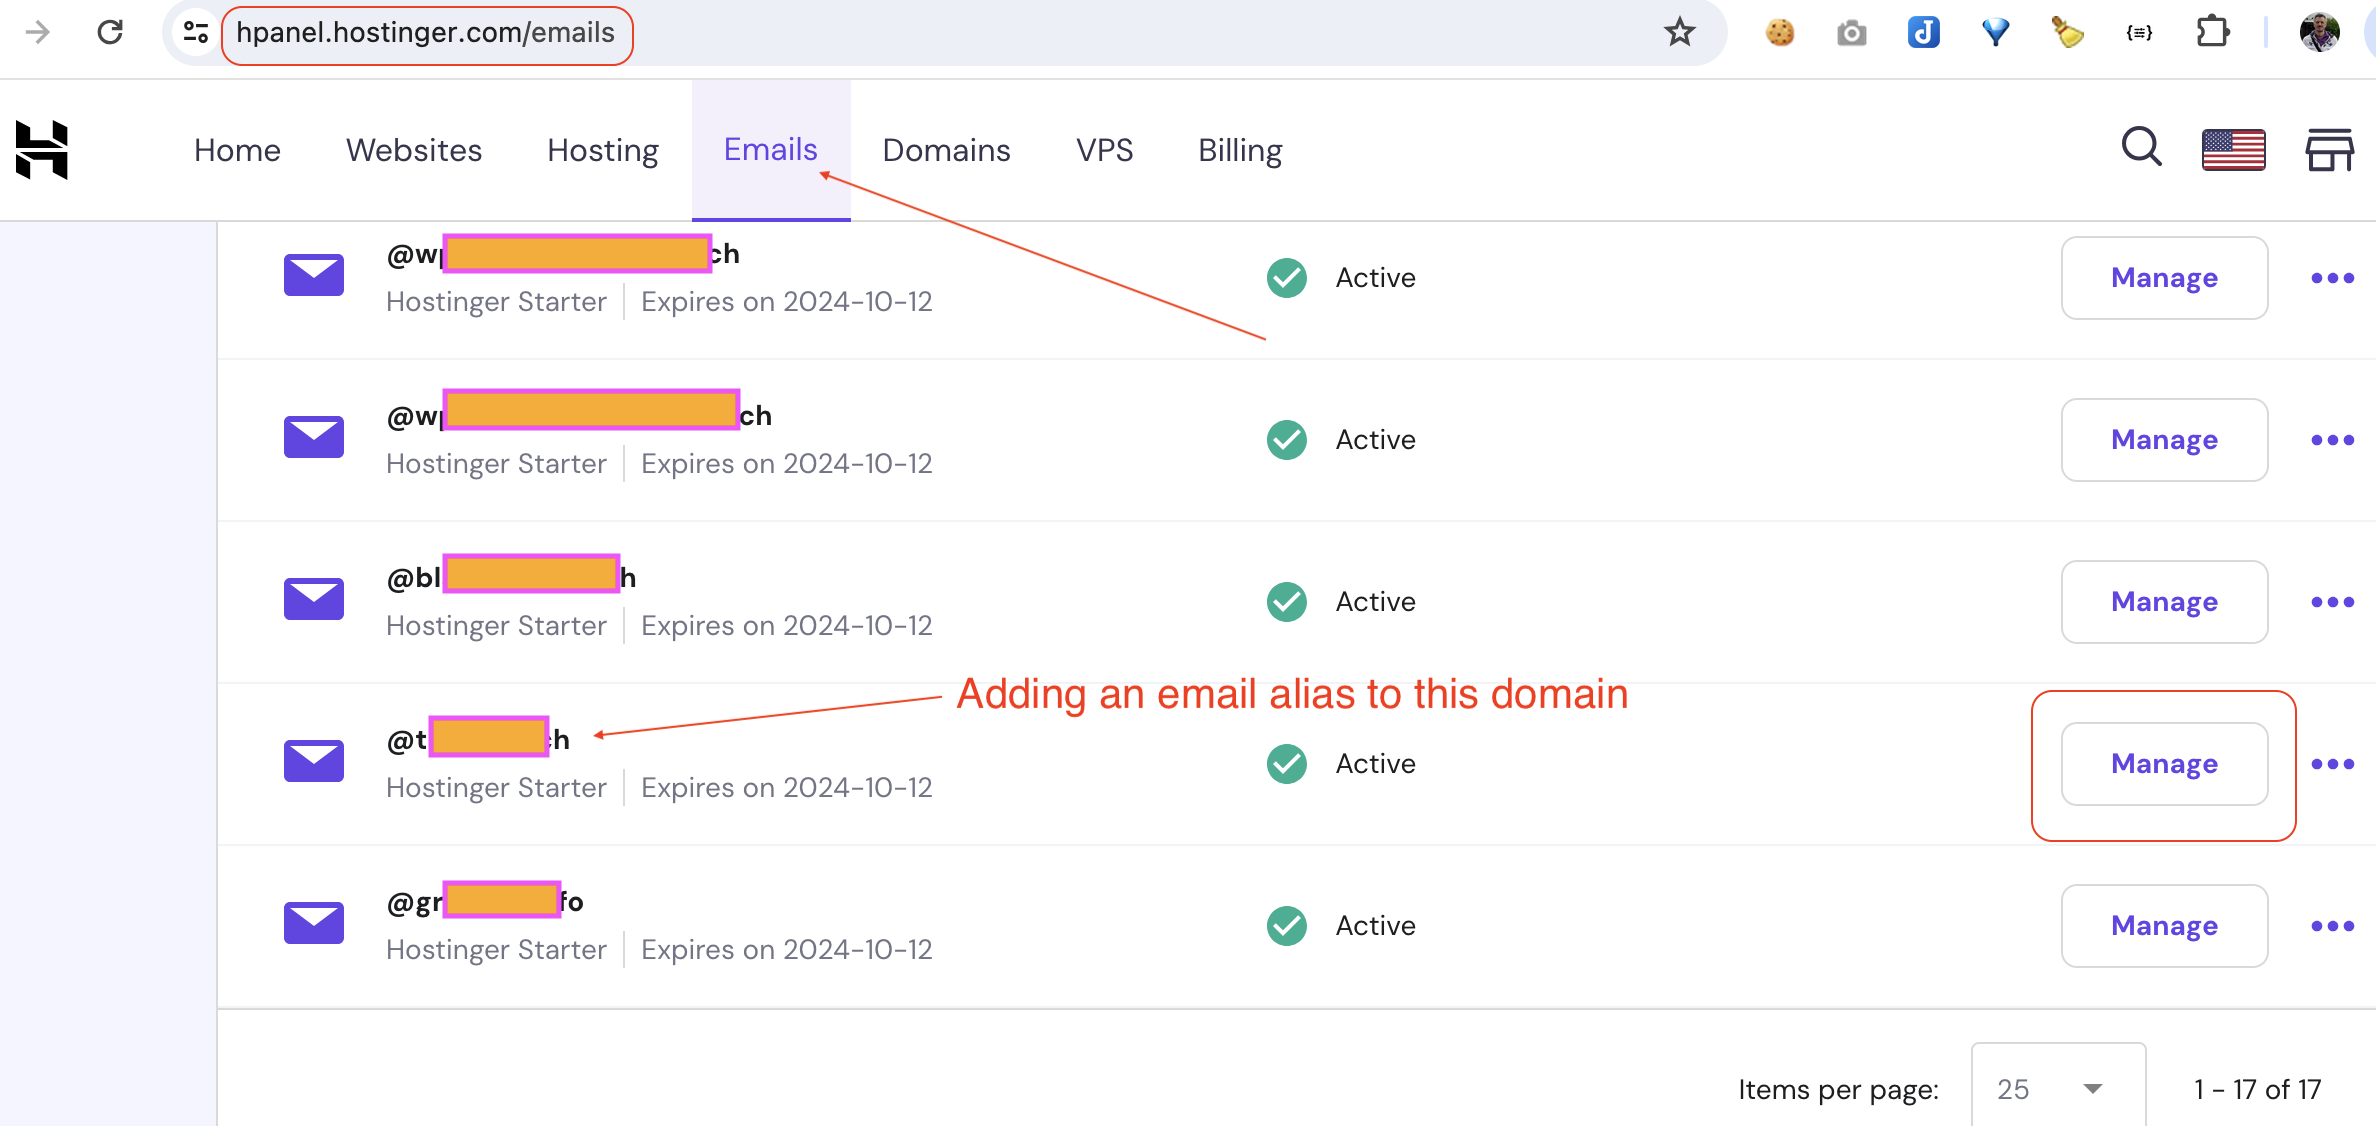
First log in to the Hostinger hpanel. Then select the Emails main category and search for the mailbox for which an alias needs to be added. Click the [Manage] button for that mailbox:
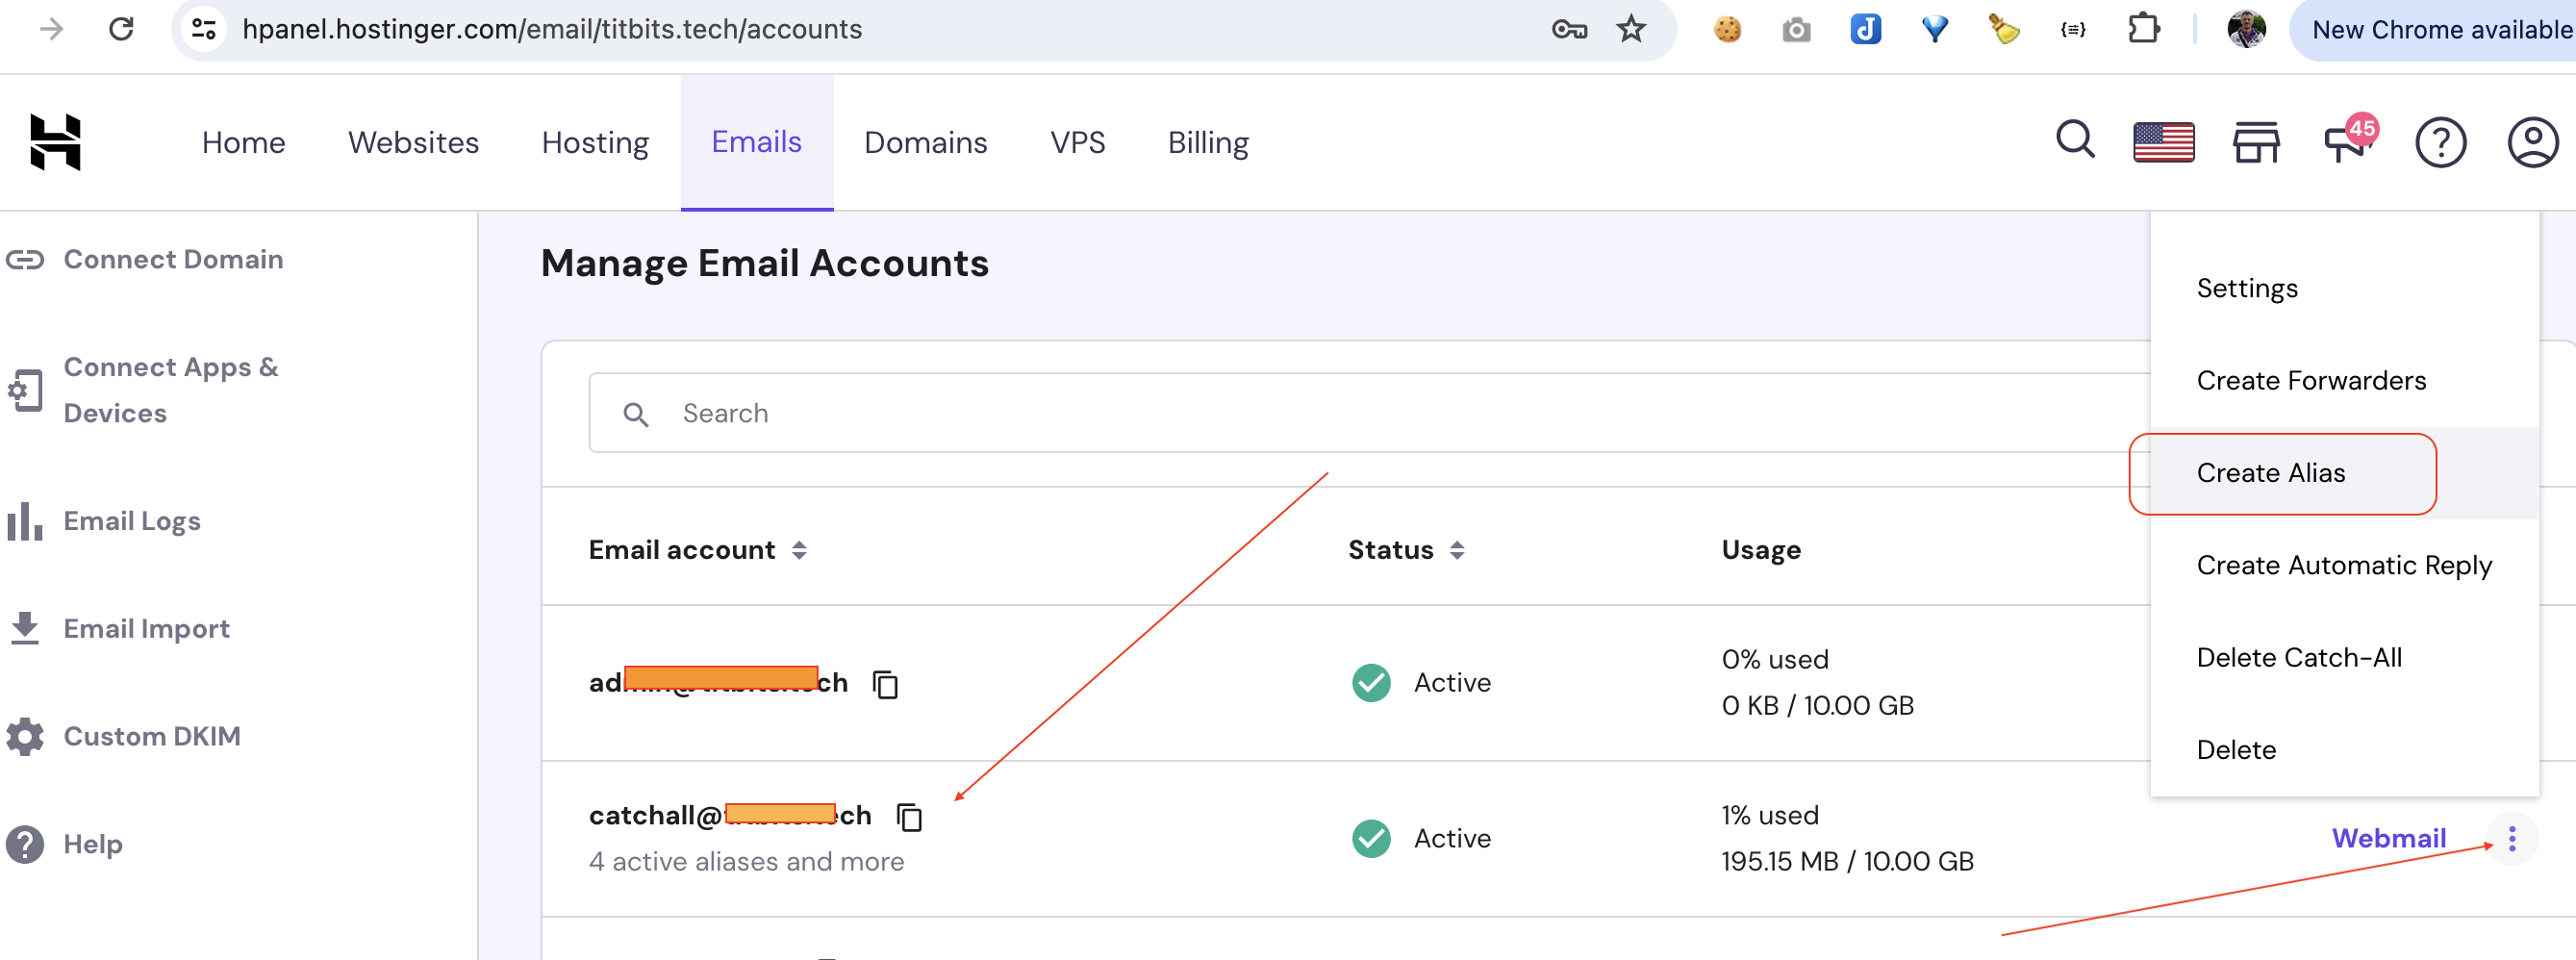
On this screen, locate the email address for which an alias is to be created, click the 3 dots on the far right to open a popup menu, and then click the Create Alias option:
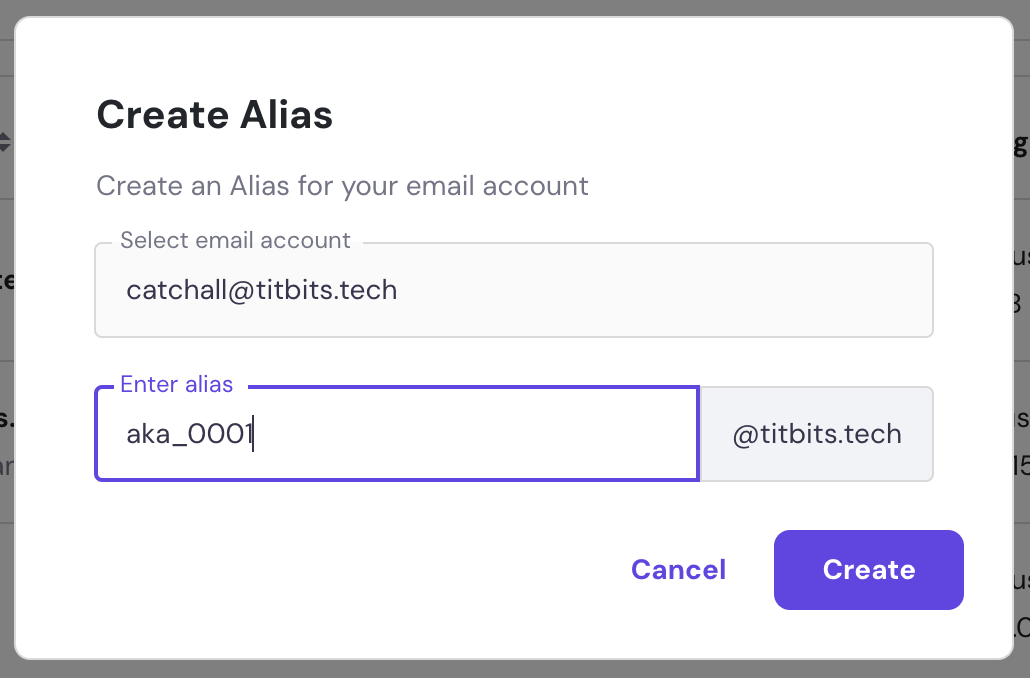
This brings up a modal in which the alias can be entered:
Configuring MacBook Mail app
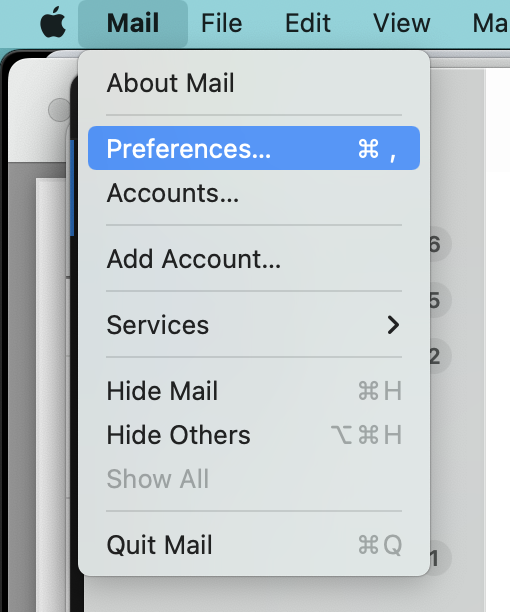
On the MacBook open the Mail app and from the main menu select Preferences..
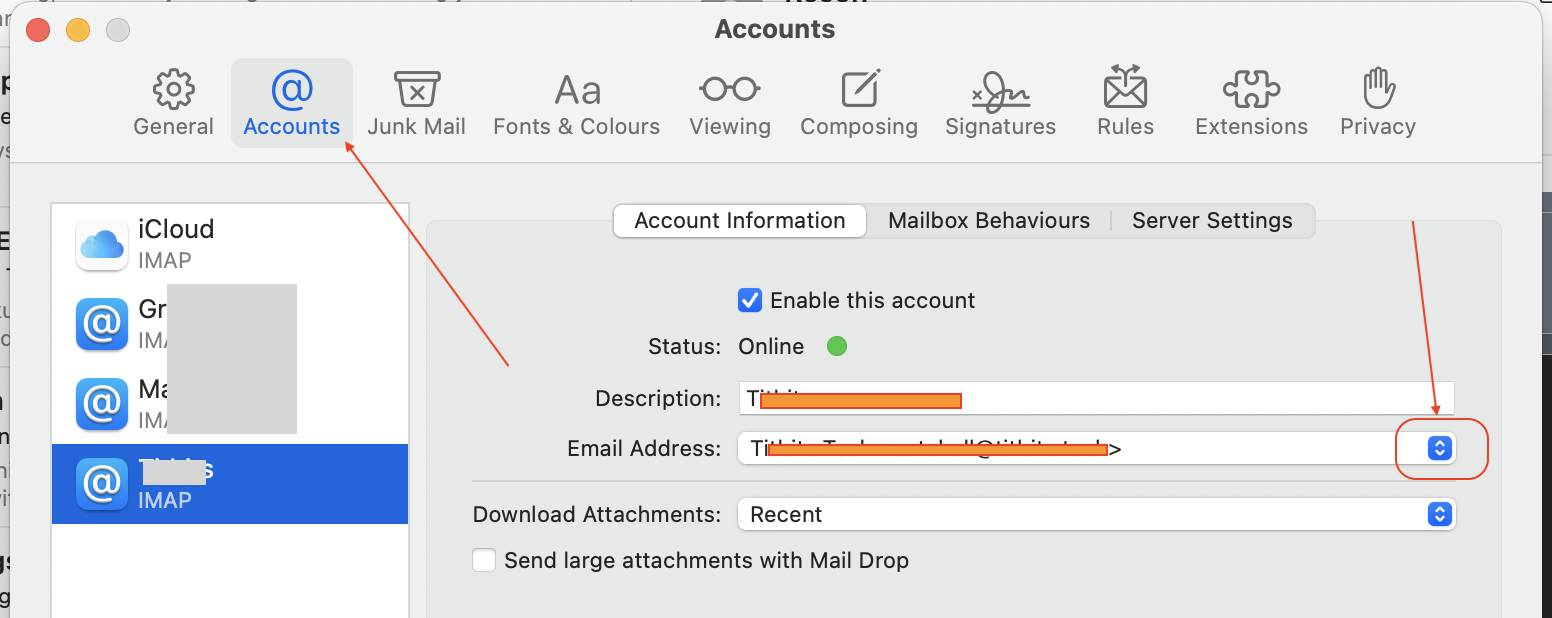
Select Accounts and in the left hand panel the appropriate account. Then, click the Account Information tab and locate the Email Address field. Click the popup menu on the far right:
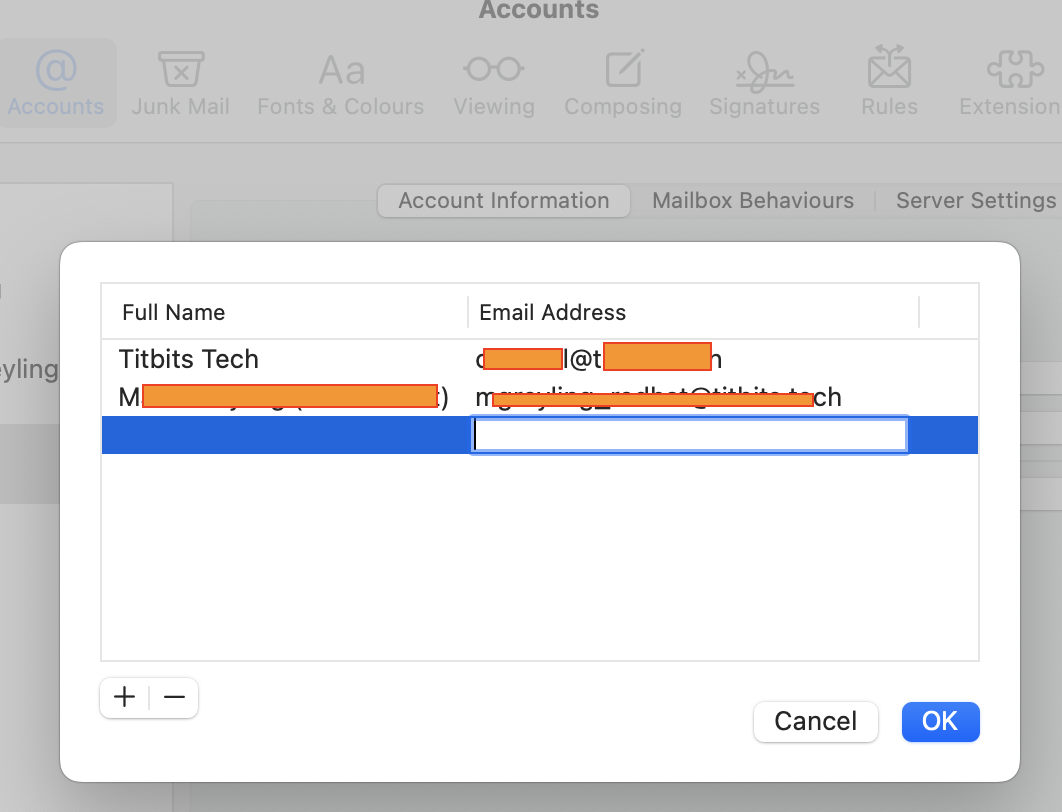
In the popup menu, select "Edit Email Addresses..."
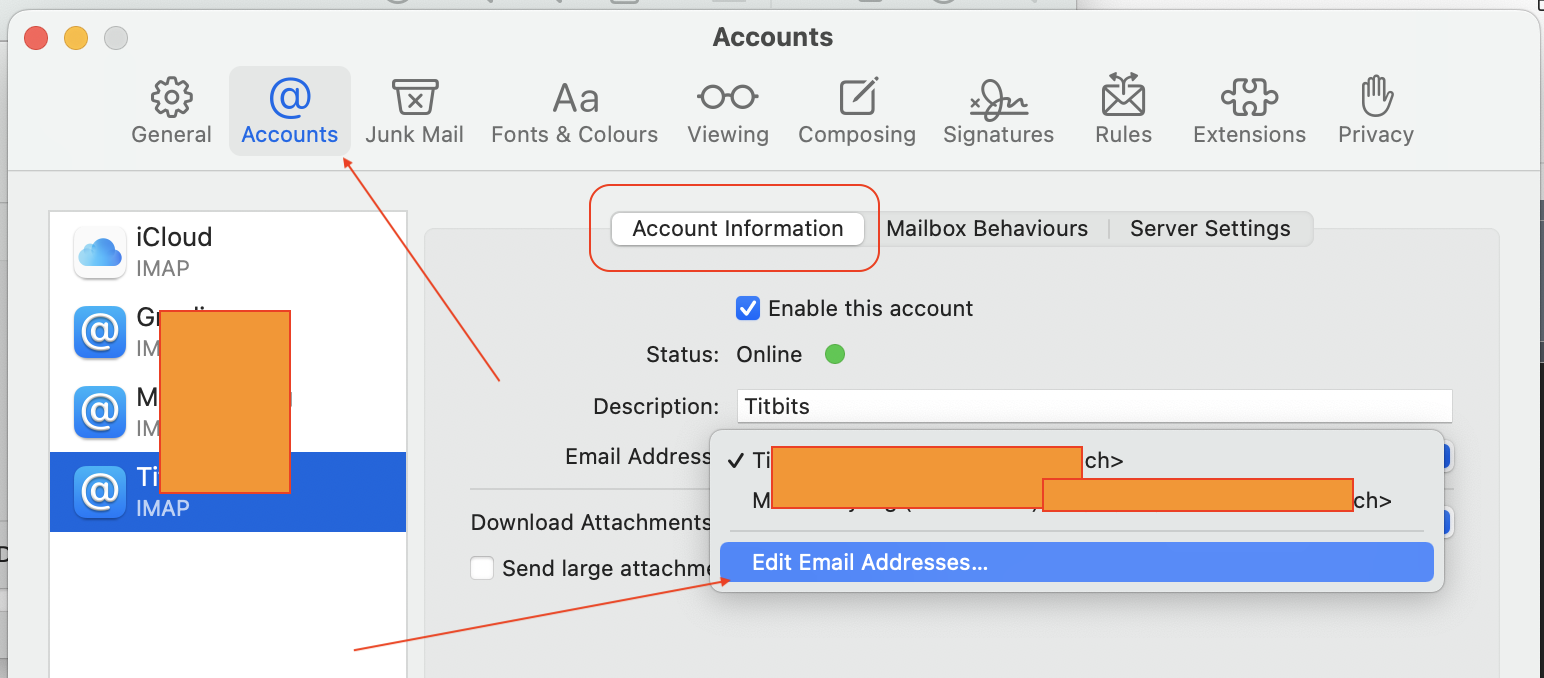
and finally enter the alias details: